As a global leader in the online travel industry, Expedia plays the role of an all-around player in the market. It offers a comprehensive one-stop booking service that includes accommodations, flights, car rentals, attraction tickets, and day tours. According to industry analysis, websites under the Expedia Group attract over 112 million unique visitors every month. For vacation rental hosts who have never used the platform, listing your property on Expedia means more than just gaining massive exposure. In fact, it is a professional operational process that involves legal compliance, financial configuration, multimedia storytelling, and dynamic pricing.
In this blog post, we will provide detailed, step-by-step instructions on how to list on Expedia. Our goal is to ensure that even beginners with zero prior experience can complete the listing process efficiently.
Why Should You List Your Property on Expedia?
When you list your property on Expedia, your listing is automatically distributed across the global Expedia Group network. Based on the group’s current structure, your property will typically appear on the following major booking platforms:
- Expedia.com: The core, all-in-one booking website.
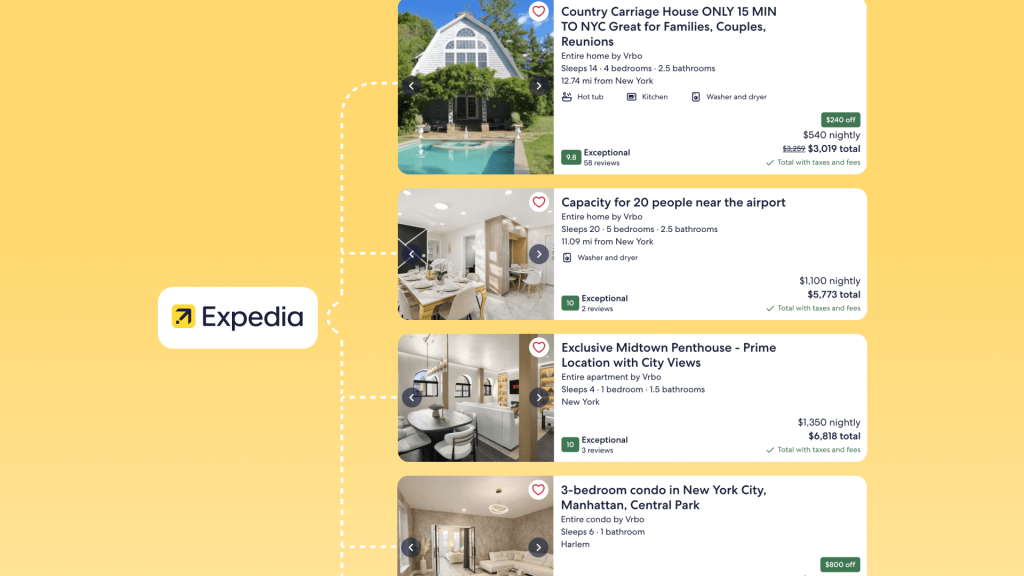
- Vrbo: A platform dedicated exclusively to entire vacation rentals.
- Hotels.com: A world-renowned site for hotel and accommodation bookings.
- Orbitz: A travel booking site primarily focused on the North American market.
- Travelocity: A well-established and large-scale online travel service platform.
- Wotif: A platform mainly covering the Australian and New Zealand markets.
- ebookers: A travel booking site primarily targeting European travelers.
- CheapTickets: A distribution platform focused on discounts and promotional deals.
Important Details to Keep in Mind:
- Automatic Distribution Criteria: Your property must meet the specific requirements of each platform. For example, Vrbo only accepts “Entire Homes.” Therefore, if you list on Expedia as a private room or shared space, your listing likely will not appear on Vrbo.
- Regional Platforms: In addition to the sites listed above, certain smaller or localized travel agencies will automatically sync your property information based on its geographic location.
- Expedia Affiliate Network: Beyond these primary sites, your listing may also appear on thousands of third-party travel agencies through Expedia’s partner network. This includes airline websites (such as the accommodation booking channels for Delta or British Airways) and credit card reward redemption platforms.
Pro-Tip:
Choosing to list your property on Expedia, Airbnb, Booking.com, Google Travel, and Agoda simultaneously is undoubtedly an effective strategy to increase bookings.
To avoid an overwhelming workload, you should use a professional vacation rental management software like Hostex. Hostex allows you to manage all your listings in one place and helps automate up to 70% of your daily chores. Best of all, pricing starts at just $4.90 per month.

Step-by-Step Guide to List Property on Expedia
Step 1: Registration and Identity Verification
Expedia is extremely strict regarding the vetting process for new listings. This initial review ensures the authenticity of the properties on their platform, which helps maintain their global reputation.
- Access the EPC Website: Visit the official registration page for Expedia Partner Central.
- Select Your Property Type: In the center of the page, you will see the question, “What would you like to list?” As a short-term rental owner, you should select “Lodging” or look specifically for the “Private Residence” option. This choice is important because it determines the structure of the forms you will fill out later.
- Choose Your Property Category: You should select the most accurate description from the dropdown menu, such as “Apartment,” “Vacation Home,” or “Condo.” This classification affects your search ranking and determines the default list of amenities available for your listing.
- Confirm Inventory: The system will ask you to enter the number of independent spaces available for booking at that specific address. For most individual short-term rental hosts, this value is usually “1.”
- Confirm the Address: Enter the detailed physical address of your property into the text box. Please pay close attention here, as the accuracy of your address directly impacts how Expedia’s algorithm captures your geographic location.
- Enter Contact Information: Provide your name, phone number, and a primary email address. The Expedia team typically sends a verification email within 24 to 48 hours. This email is not just the key to activating your account, but it also serves as a preliminary security check to verify your identity.
Step 2: Create and Complete Your Listing
On a highly commercial platform like Expedia, a short-term rental must present itself professionally in order to compete with nearby hotels.
- Create the listing: Under the “Property” tab, create a new listing.
- Write the title: The title should include two to three core highlights. For example, “Sunny Queen Room with City View.”
- Write the description: The description should contain at least 700 characters. When writing, do not simply list facts. Instead, guide guests to imagine their stay through narrative details. For example, rather than writing “TV included,” you could write “Equipped with a 55-inch 4K smart TV with streaming services, perfect for relaxing in the evening.” This level of detail can effectively improve your listing’s visibility within Expedia’s algorithm.
- Add photos: Expedia has minimum quantity and technical requirements for different types of photos. You should upload the following:
- Panoramic photo: At least 1 image. The recommended long edge is 2880 pixels. Its purpose is to showcase the building exterior and the surrounding environment.
- Guest room or bedroom: At least 4 images per room type. Photos should be high resolution and taken in natural light. The goal is to set accurate guest expectations.
- Bathroom: At least 1 image per bathroom. It should be clean and brightly lit to demonstrate hygiene standards.
- Key amenities: At least 1 image highlighting specific details, such as a coffee machine or a terrace. These photos help build an emotional connection with potential guests.
- Select amenities: Under the “Amenities” tab in the Property menu, you must check all facilities you provide. This includes basic amenities such as Wi-Fi, parking, and kitchen equipment, as well as safety features like smoke detectors and smart locks.
Step 3: Set Pricing and Inventory
There are multiple ways to manage pricing, ranging from manual control to full automation.
1. Manual Management
Under the “Rooms and Rates” menu, click “Calendar.” The system will display a date-based grid.
- Set the pricing model: Choose between “Occupancy-based pricing” or “Standard per-day pricing.”
- Enter the base price: Click on a specific date or date range, then enter the nightly rate in the sidebar.
- Open inventory: Make sure the inventory value is set to “1.” If you do not want a certain date to be bookable, click that date and select “Close out.”
Please note that if your property is listed on multiple platforms, you must manually close the corresponding date on Expedia once it is booked elsewhere.
2. Booking Restrictions
To protect operational efficiency, owners should set restrictions in the calendar:
- Minimum Stay: For example, require at least a two-night stay on weekends to spread out cleaning costs.
- Closed to Arrival: If you are unable to accept check-ins on certain dates, you can enable this setting.
3. Automation Tool: Channel Manager
For owners who synchronize listings across multiple platforms such as Airbnb and Booking.com, manual inventory management can create serious risks. Therefore, using an Expedia-approved Channel Manager is necessary.
Under Rooms and Rates, go to Connectivity Settings. Search for and select partners such as Hostex.
After connecting, Expedia’s server will integrate with the third-party system via API. Inventory and pricing will then sync in real time. As a result, you can fundamentally prevent overbooking or double booking.
Step 4: Financial and Tax Compliance Setup
Under the “Financials” menu in EPC, you must configure how you receive payments and how taxes are handled.
1. Set the Payment Method
You need to decide which payment model to accept:
- Expedia Collect: Guests pay Expedia at the time of booking. After check-in, Expedia settles the payout to the owner via virtual credit card or bank transfer.
- Hotel Collect: The owner charges the guest directly for the full amount. Expedia then issues a commission invoice to the owner.
For individual hosts who have never used Expedia before, “Expedia Collect” is generally recommended. It simplifies the payment process and reduces the risk of credit card fraud.
2. Enter Bank Account Information
Under the “Financials” tab, locate “Bank Details” or “Payout Settings.”
- Add account: Click “Add bank account.”
- Enter details: Provide the bank name, IBAN number, and SWIFT or BIC code.
- Identity verification: The system may require you to upload a government-issued ID, such as a passport or driver’s license, as well as a recent utility bill to verify account ownership.
3. Register Tax Information
According to local regulations where the property is located, you must enter your Tax Identification Number in the “Tax and Registration” section.
In certain jurisdictions, you may also be required to provide a business license number.
Step 5: Set Policies and House Rules
Policy settings are designed to manage guest expectations and protect the interests of short-term rental owners in case of violations. Under the “Property” tab, go to the “Policies” page and complete the following configurations:
1. Set the Cancellation Policy
Expedia allows owners to choose from several cancellation options:
- Fully refundable: Guests can cancel free of charge within 24 to 48 hours before check-in. This option can attract more bookings, but it increases operational uncertainty.
- Non-refundable: The rate is usually slightly lower, but it guarantees revenue. It is generally recommended that owners offer two different rate plans, allowing guests to choose based on their preference.
2. Set House Rules
This is where owners select specific property rules:
- Pets: Choose either “Not allowed” or “Allowed with fee.”
- Smoking: In most cases, select “No smoking.”
- Check-in instructions: Enter detailed instructions, for example, “Guests will receive an email with the door access code 24 hours before arrival.”
Step 6: Final Review and Publish
Once all listing content, pricing, calendar settings, and policies are completed, you will enter the final publishing stage.
Expedia’s backend includes an automated evaluation system called “Checkpoints.” It reviews your listing’s completeness approximately every five hours. On the “Review” page, you should check whether any mandatory information is missing, such as bedroom photos or check-in time settings.
When the system confirms that all required fields are completed, a blue “Publish” button will appear at the bottom of the page. After clicking it, your listing will enter a pending review status. Expedia’s operations team may conduct a final verification of certain details. In most cases, the property will go live on Expedia and its affiliated distribution channels within 24 hours.
Final Thoughts
In fact, the process to list property on Expedia is largely similar to listing on Airbnb and other major short-term rental platforms. You simply need to follow the platform’s prompts and complete the information step by step. Most importantly, make sure all details are accurate and truthful. This is the foundation for building your brand reputation and operating sustainably over the long term.
As a professional vacation rental host, if you want more bookings and more stable profitability, you should consider distributing your property across multiple platforms, including Airbnb, Vrbo, Booking.com, Google Travel, and Agoda. This is a widely adopted and effective strategy in short-term rental management.
You also do not need to worry that expanding to more channels will increase your workload. With professional vacation rental software such as Hostex, you can manage all listings in one place. Its powerful PMS automation features can handle up to 70 percent of your daily operational tasks. Pricing starts from just $4.9 per month.